Setting up an NAS
Due to my habit of taking a ton of hiking photos combined with the storage needs of others in my household I thought now would be a good time to setup network attached storage (NAS).
Rather than buying a preconfigured system, I decided to set this up manually, running SMB from my Raspberry Pi to connect devices to storage. Setting this up manually would help me to learn more Raspberry Pi and network storage while also allowing me to configure the system just how I wanted it.
Maxtor Phase
Before buying anything, there were already three ancient storage devices living in my house.
Here’s one of them:
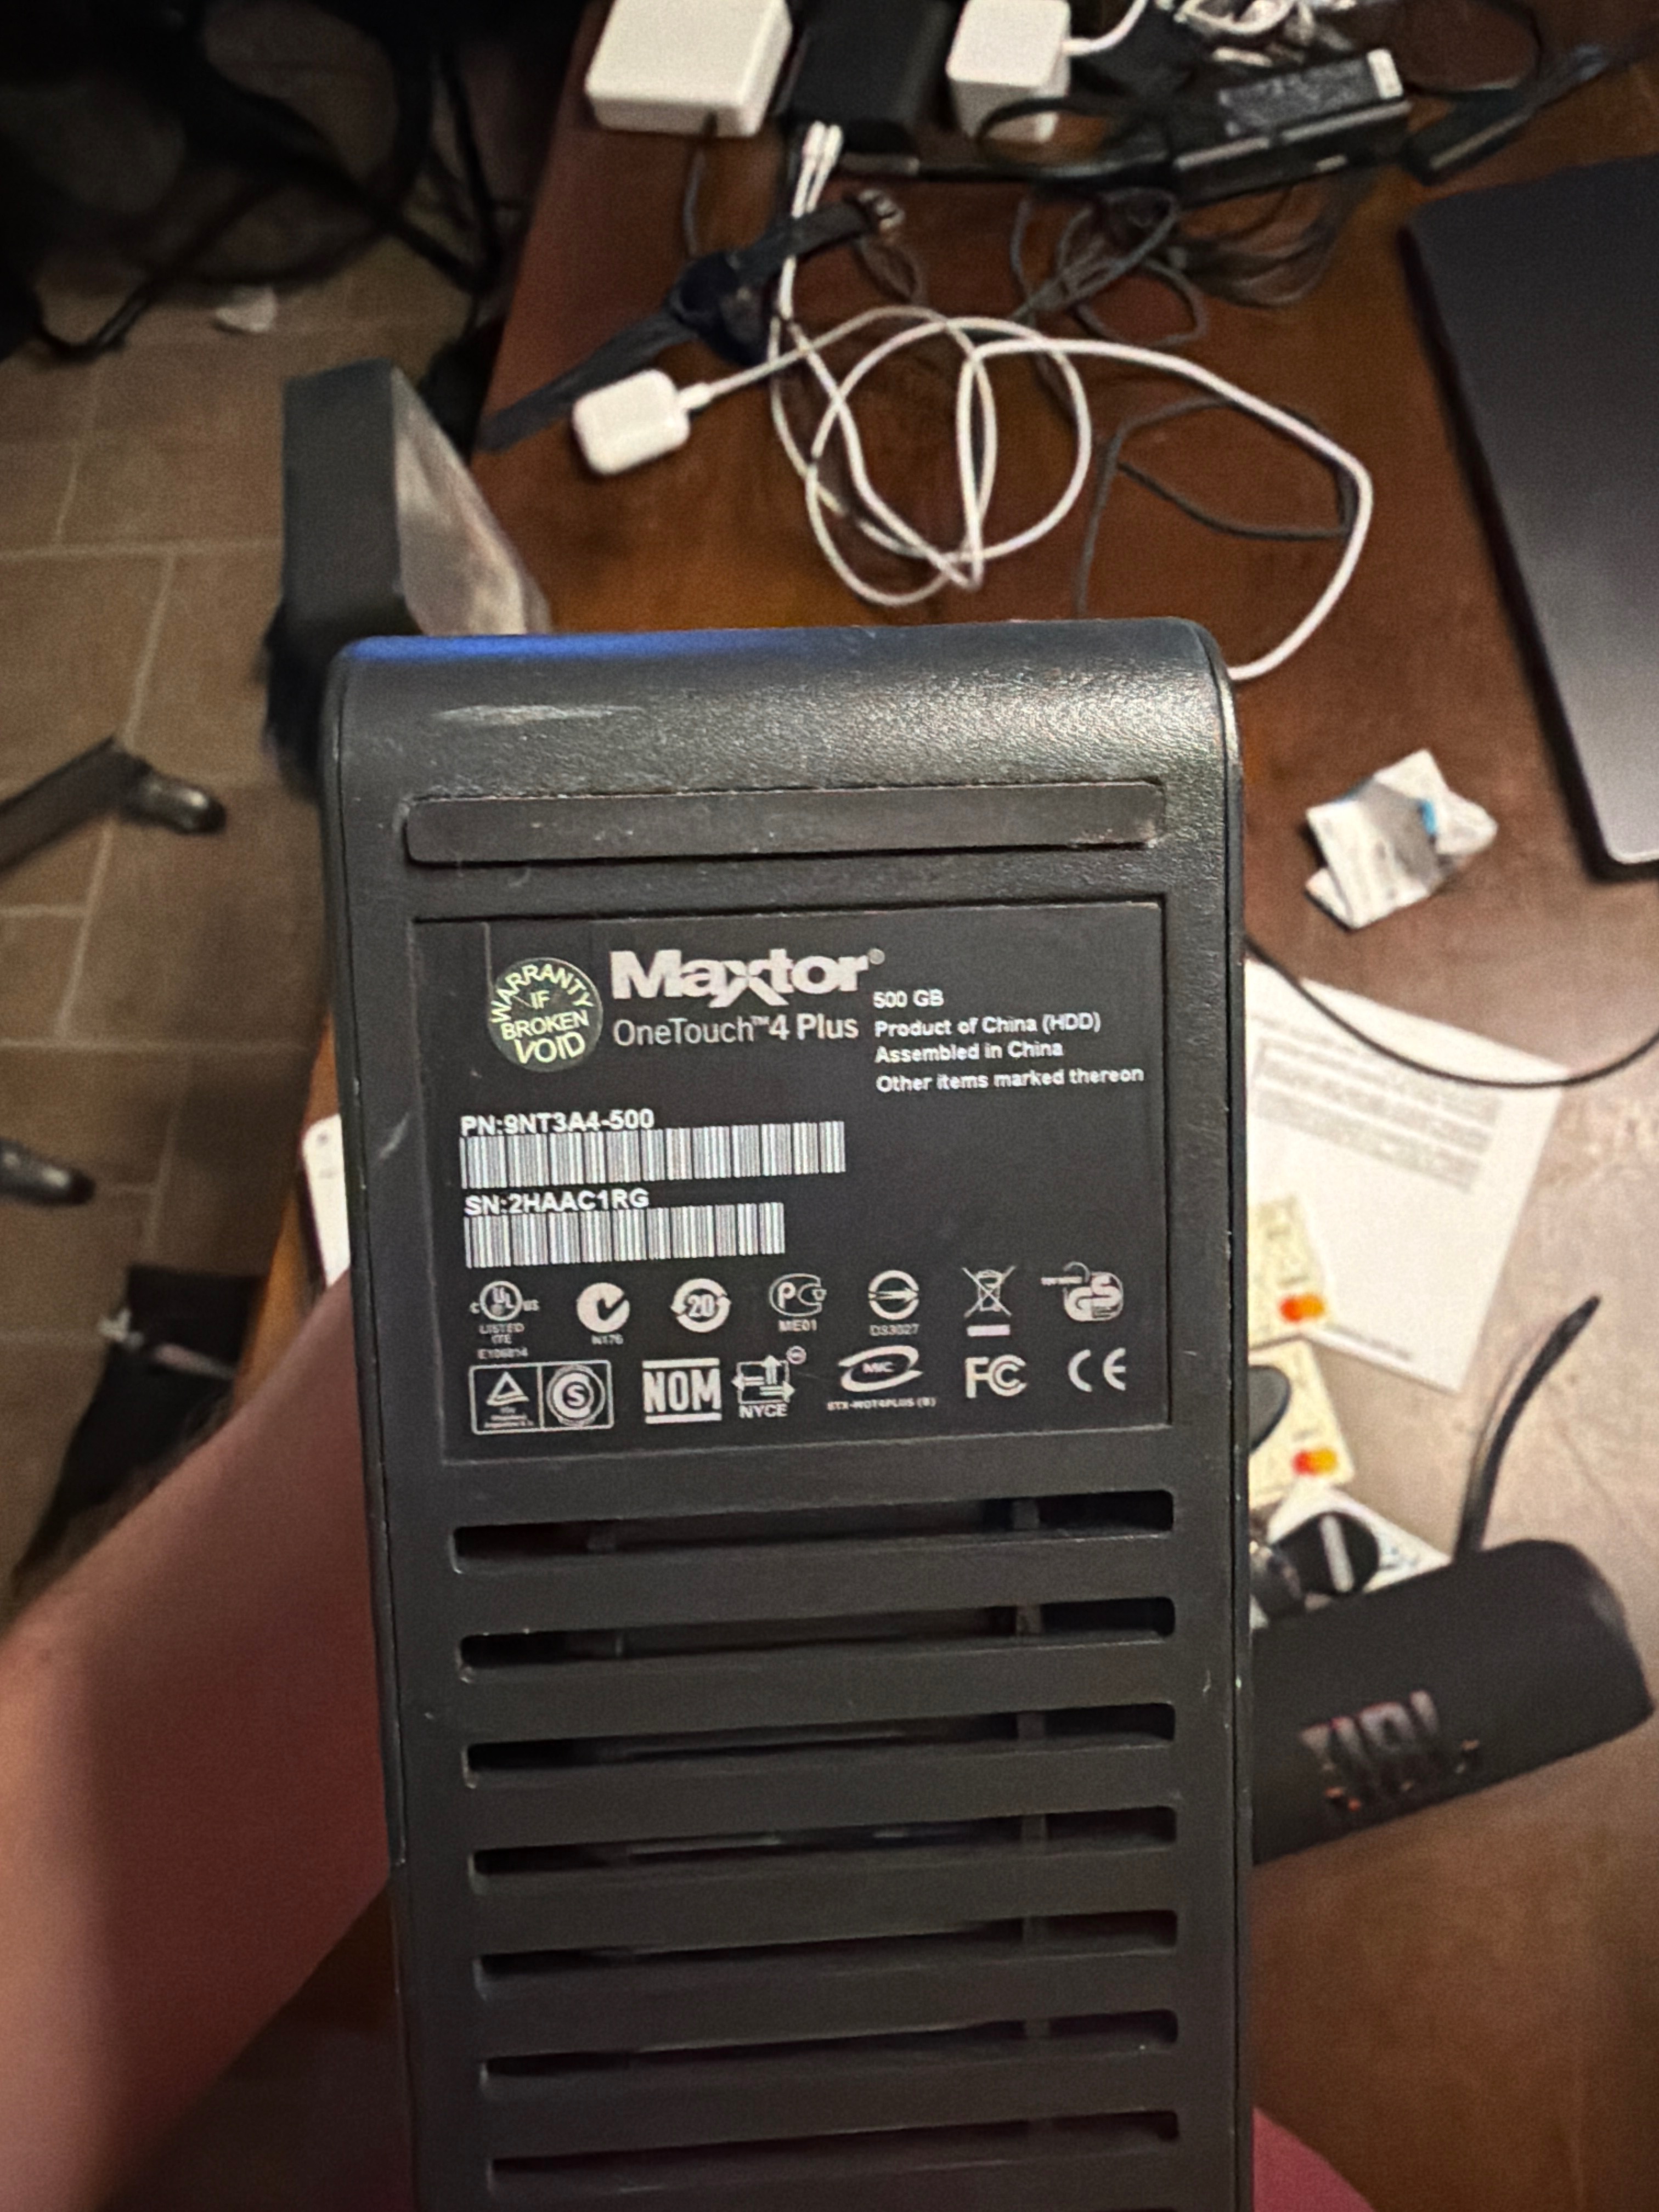
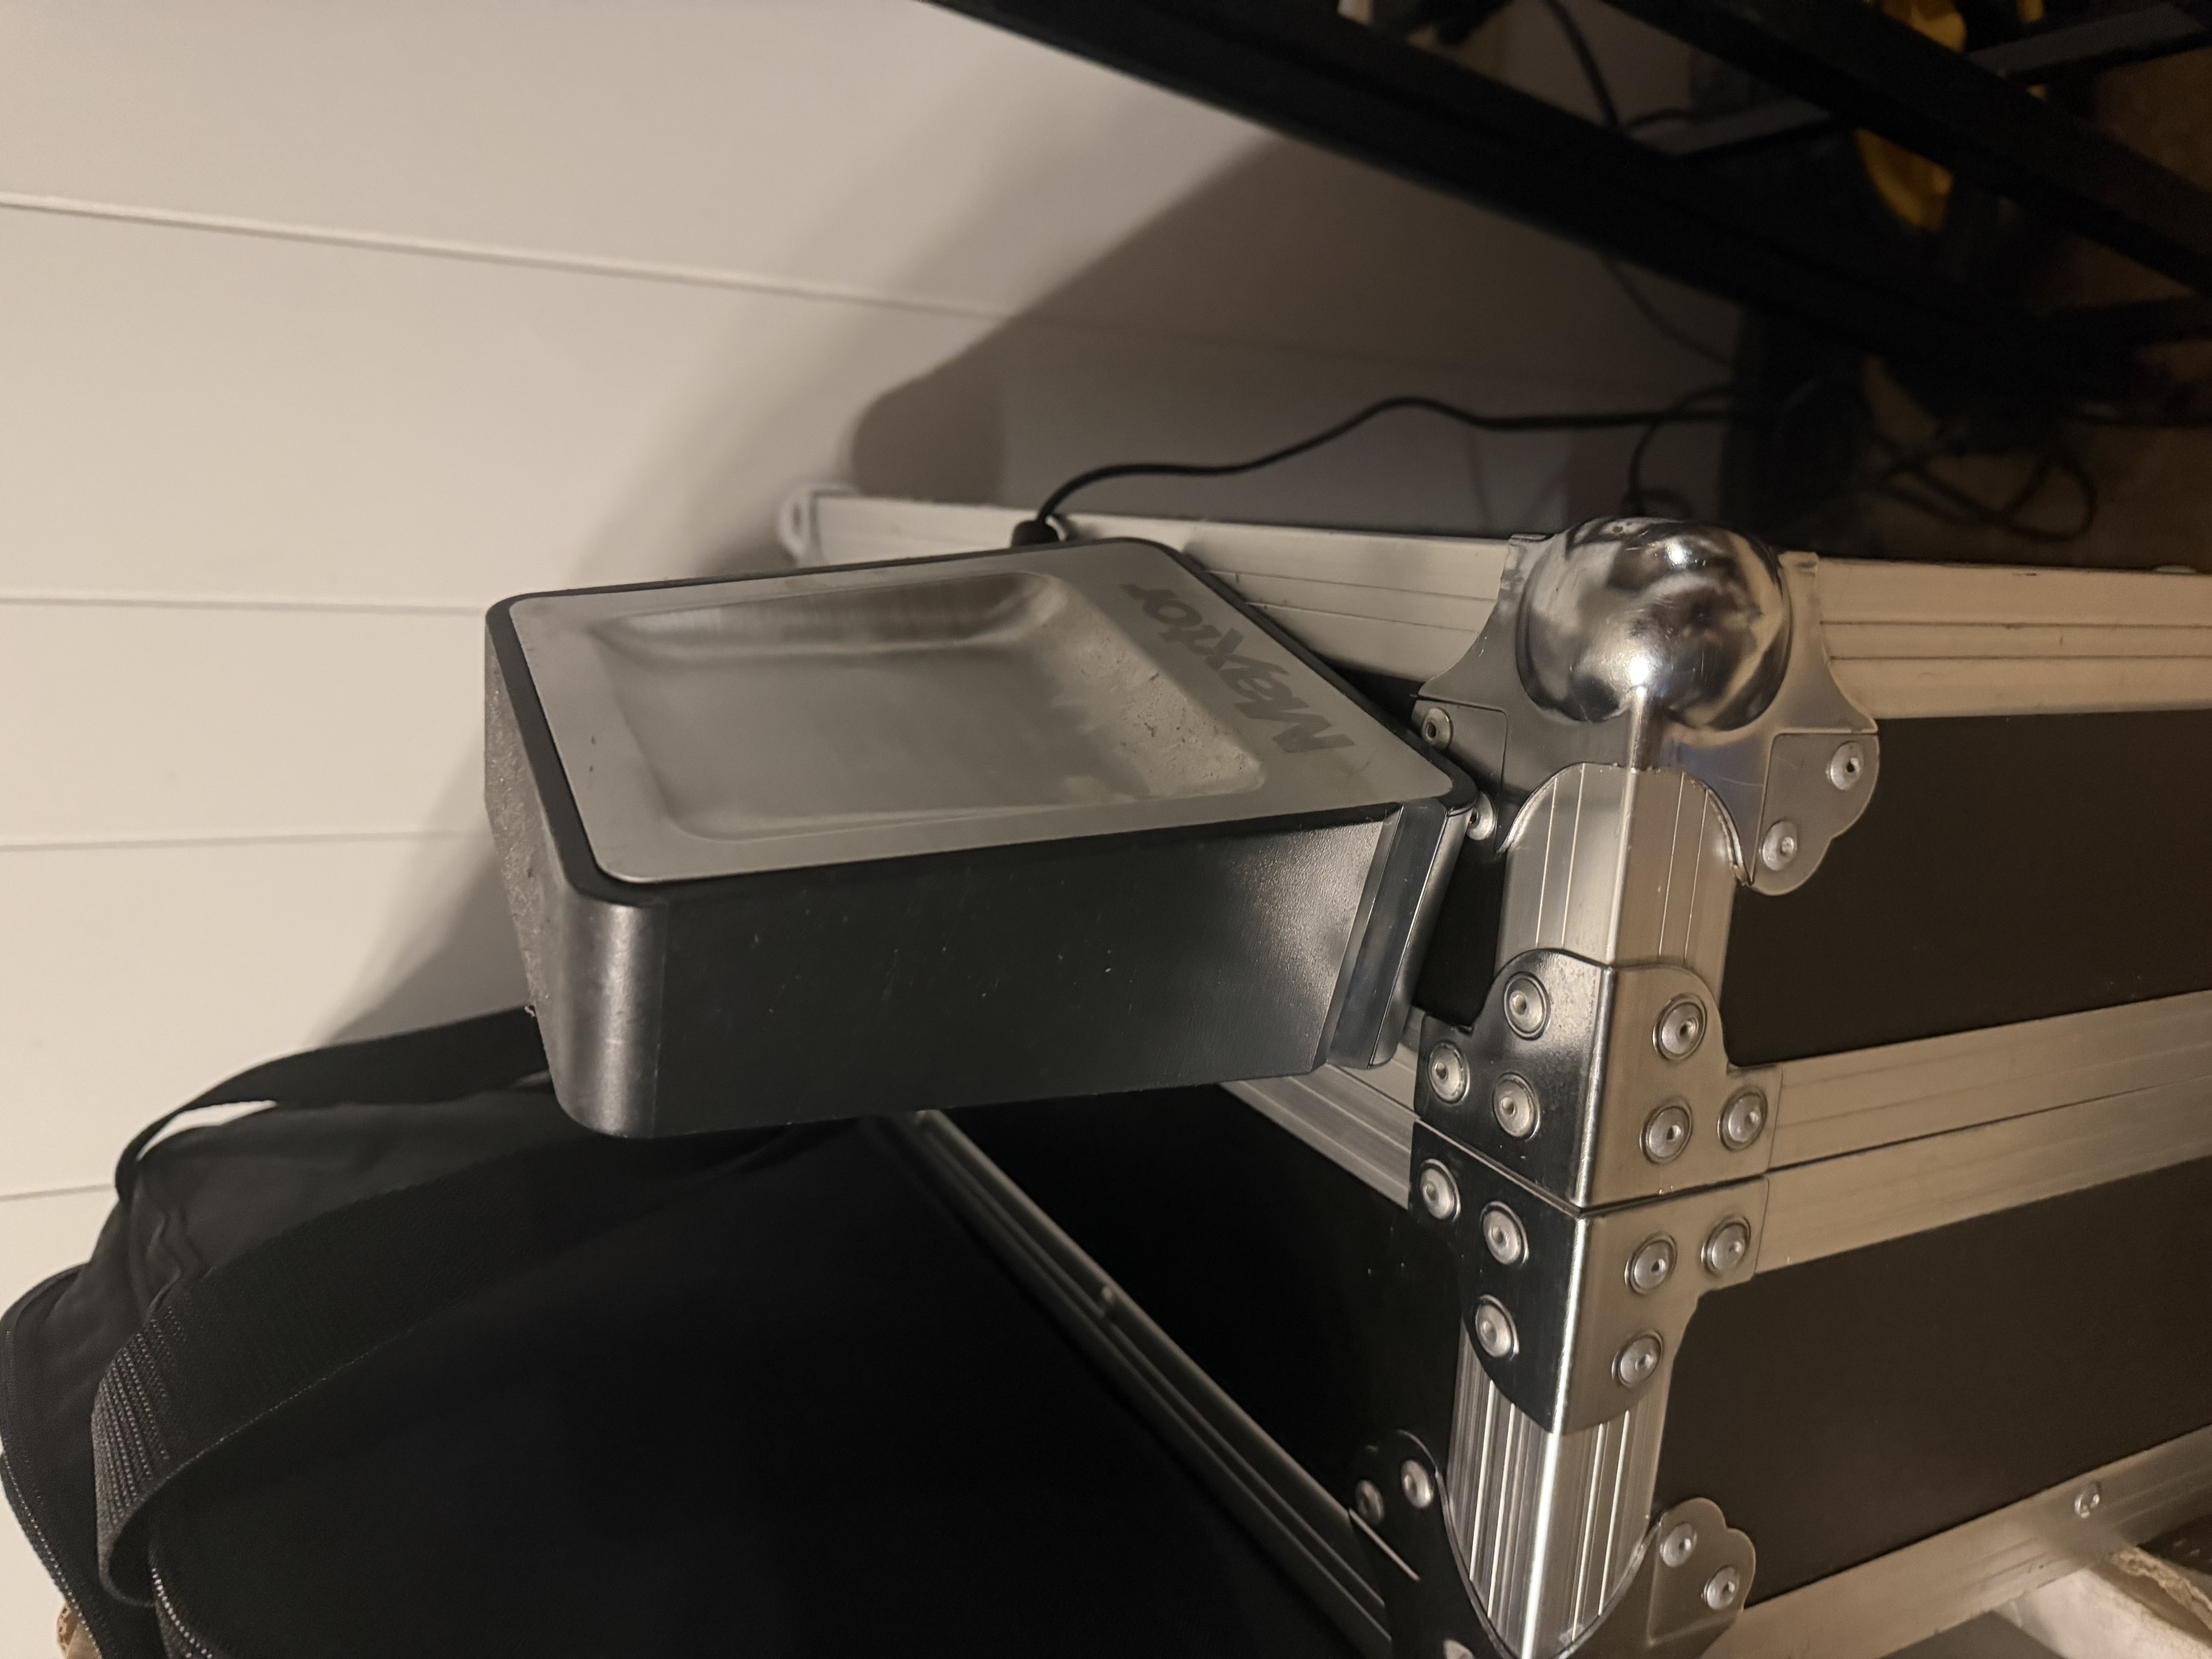
I connected the Maxtor to my Raspberry Pi with USB for data transfer. Then, I set up Samba on the Pi to make the files available on my network.
Next, I created users for my Dad, myself, and a friend. By configuring permissions we now had the basic workings of an NAS.
~ $ cat /etc/passwd | grep '/home' | cut -d: -f1
adenegar
adonai
dad
For my friend and myself we also setup Tailscale to access the Pi or NAS without needing to be on the same wifi network.
Upgrading Storage
I decided to purchase the Western Digital 8 TB hard drive because it is quieter than Ironwolf and it is compatible with many NAS docking stations. 8 terabytes should be plenty for my current needs and at least for the next couple years.
To connect my Pi to the WD Red hard drive I also purchased a Waveshare PCIe to 2-Ch SATA Adapter. This would server as a middle-man between the Pi and the hard drive. This device allows me to go from PCIe (Pi -> Waveshare) to SATA (Waveshare -> hard drive).
Problems Arise
After not too long I had the Pi connected to the Waveshare by PCIe and the Waveshare connected to the hard drive by SATA.
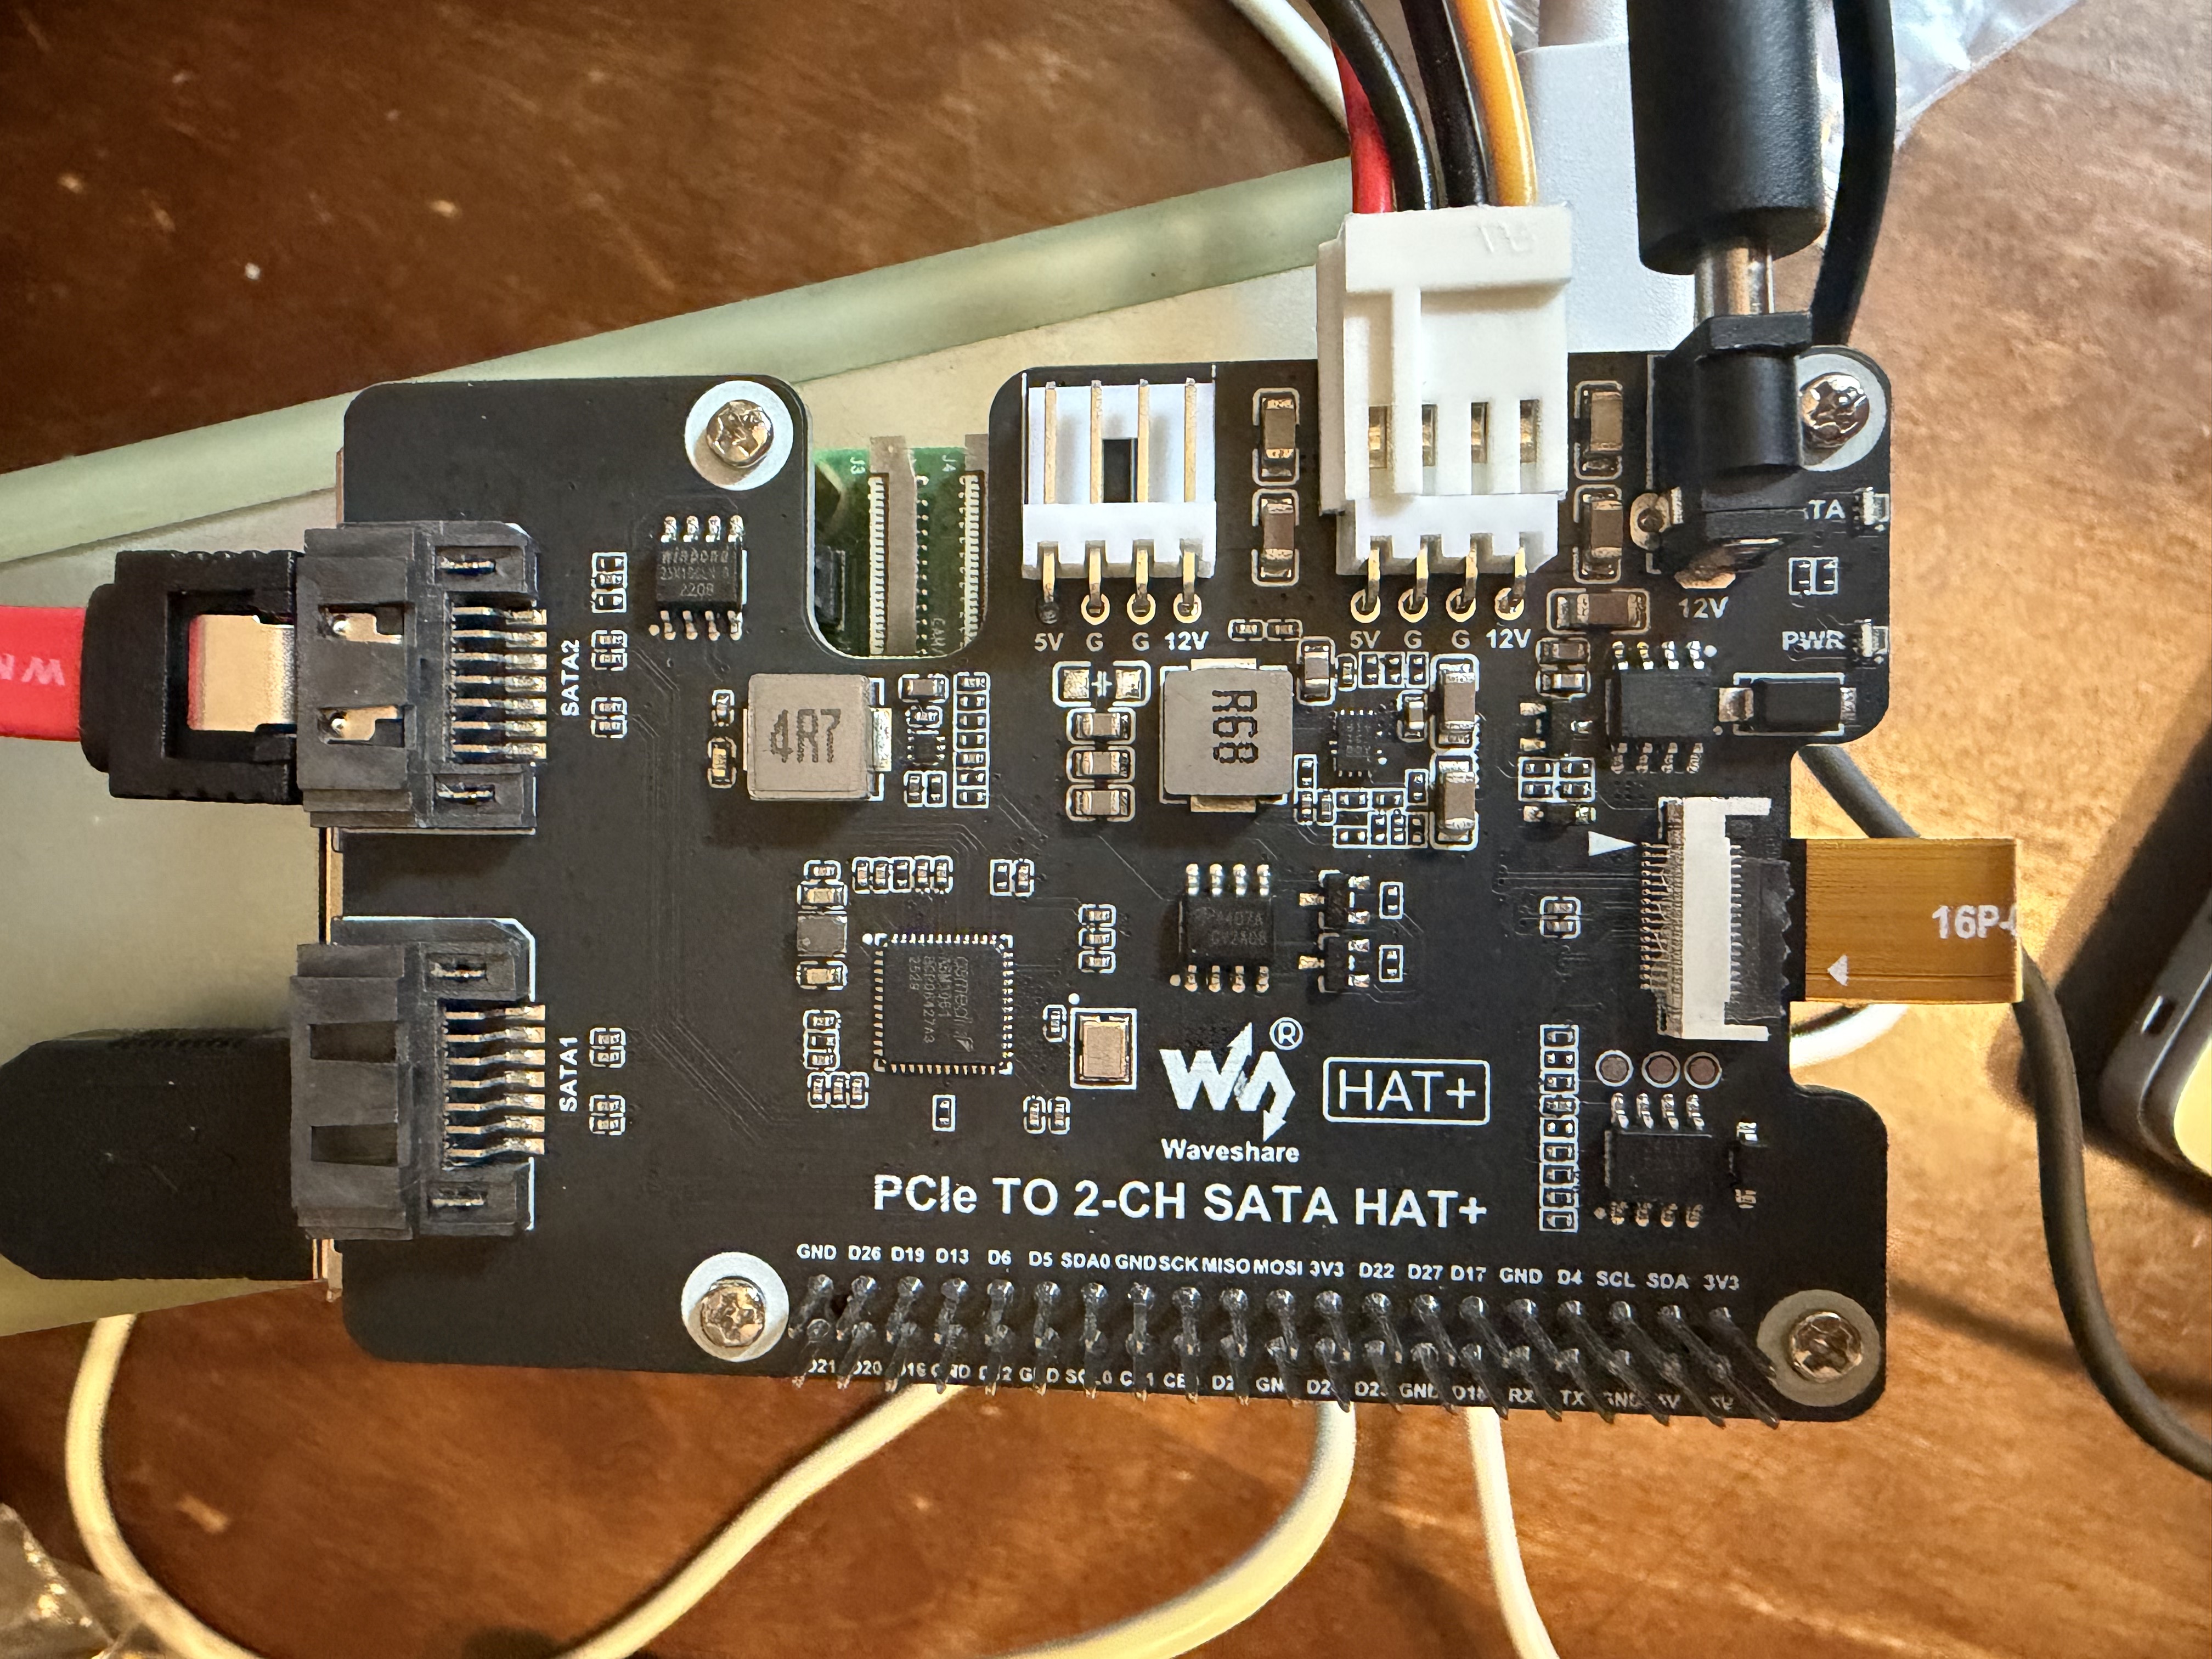
Unlike the Maxtor, the WD Red hard drive didn’t appear when I ran lsblk.
~ $ lsblk
sda           8:0    0 186.3G  0 disk
└─sda1        8:1    0 186.3G  0 part /mnt/maxtor
Looking closely at the overhead image above, I realized the Waveshare power button wasn’t lighting up (PWR button can be seen near the bottom right corner of the image). The Waveshare receives power from the PCIe ribbon, which indicates the ribbon is a likely culprit. I tried re-configuring and re-securing the ribbon, but the power light still didn’t turn on.
To diagnose further, I checked the kernel ring buffer for pcie operations.
~ $ dmesg | grep -i pcie
[    0.757563] brcm-pcie 1000110000.pcie: link down
I tried restarting the Pi a couple times, getting the same result. This backed up my original suspicion. The Waveshare device was brand new and the ribbon was possibly damaged from my attempts to adjust the ribbon into the right spot. The ribbon was the most likely suspect.
I ordered a few replacement PCIe ribbons for $6 and tried one out.
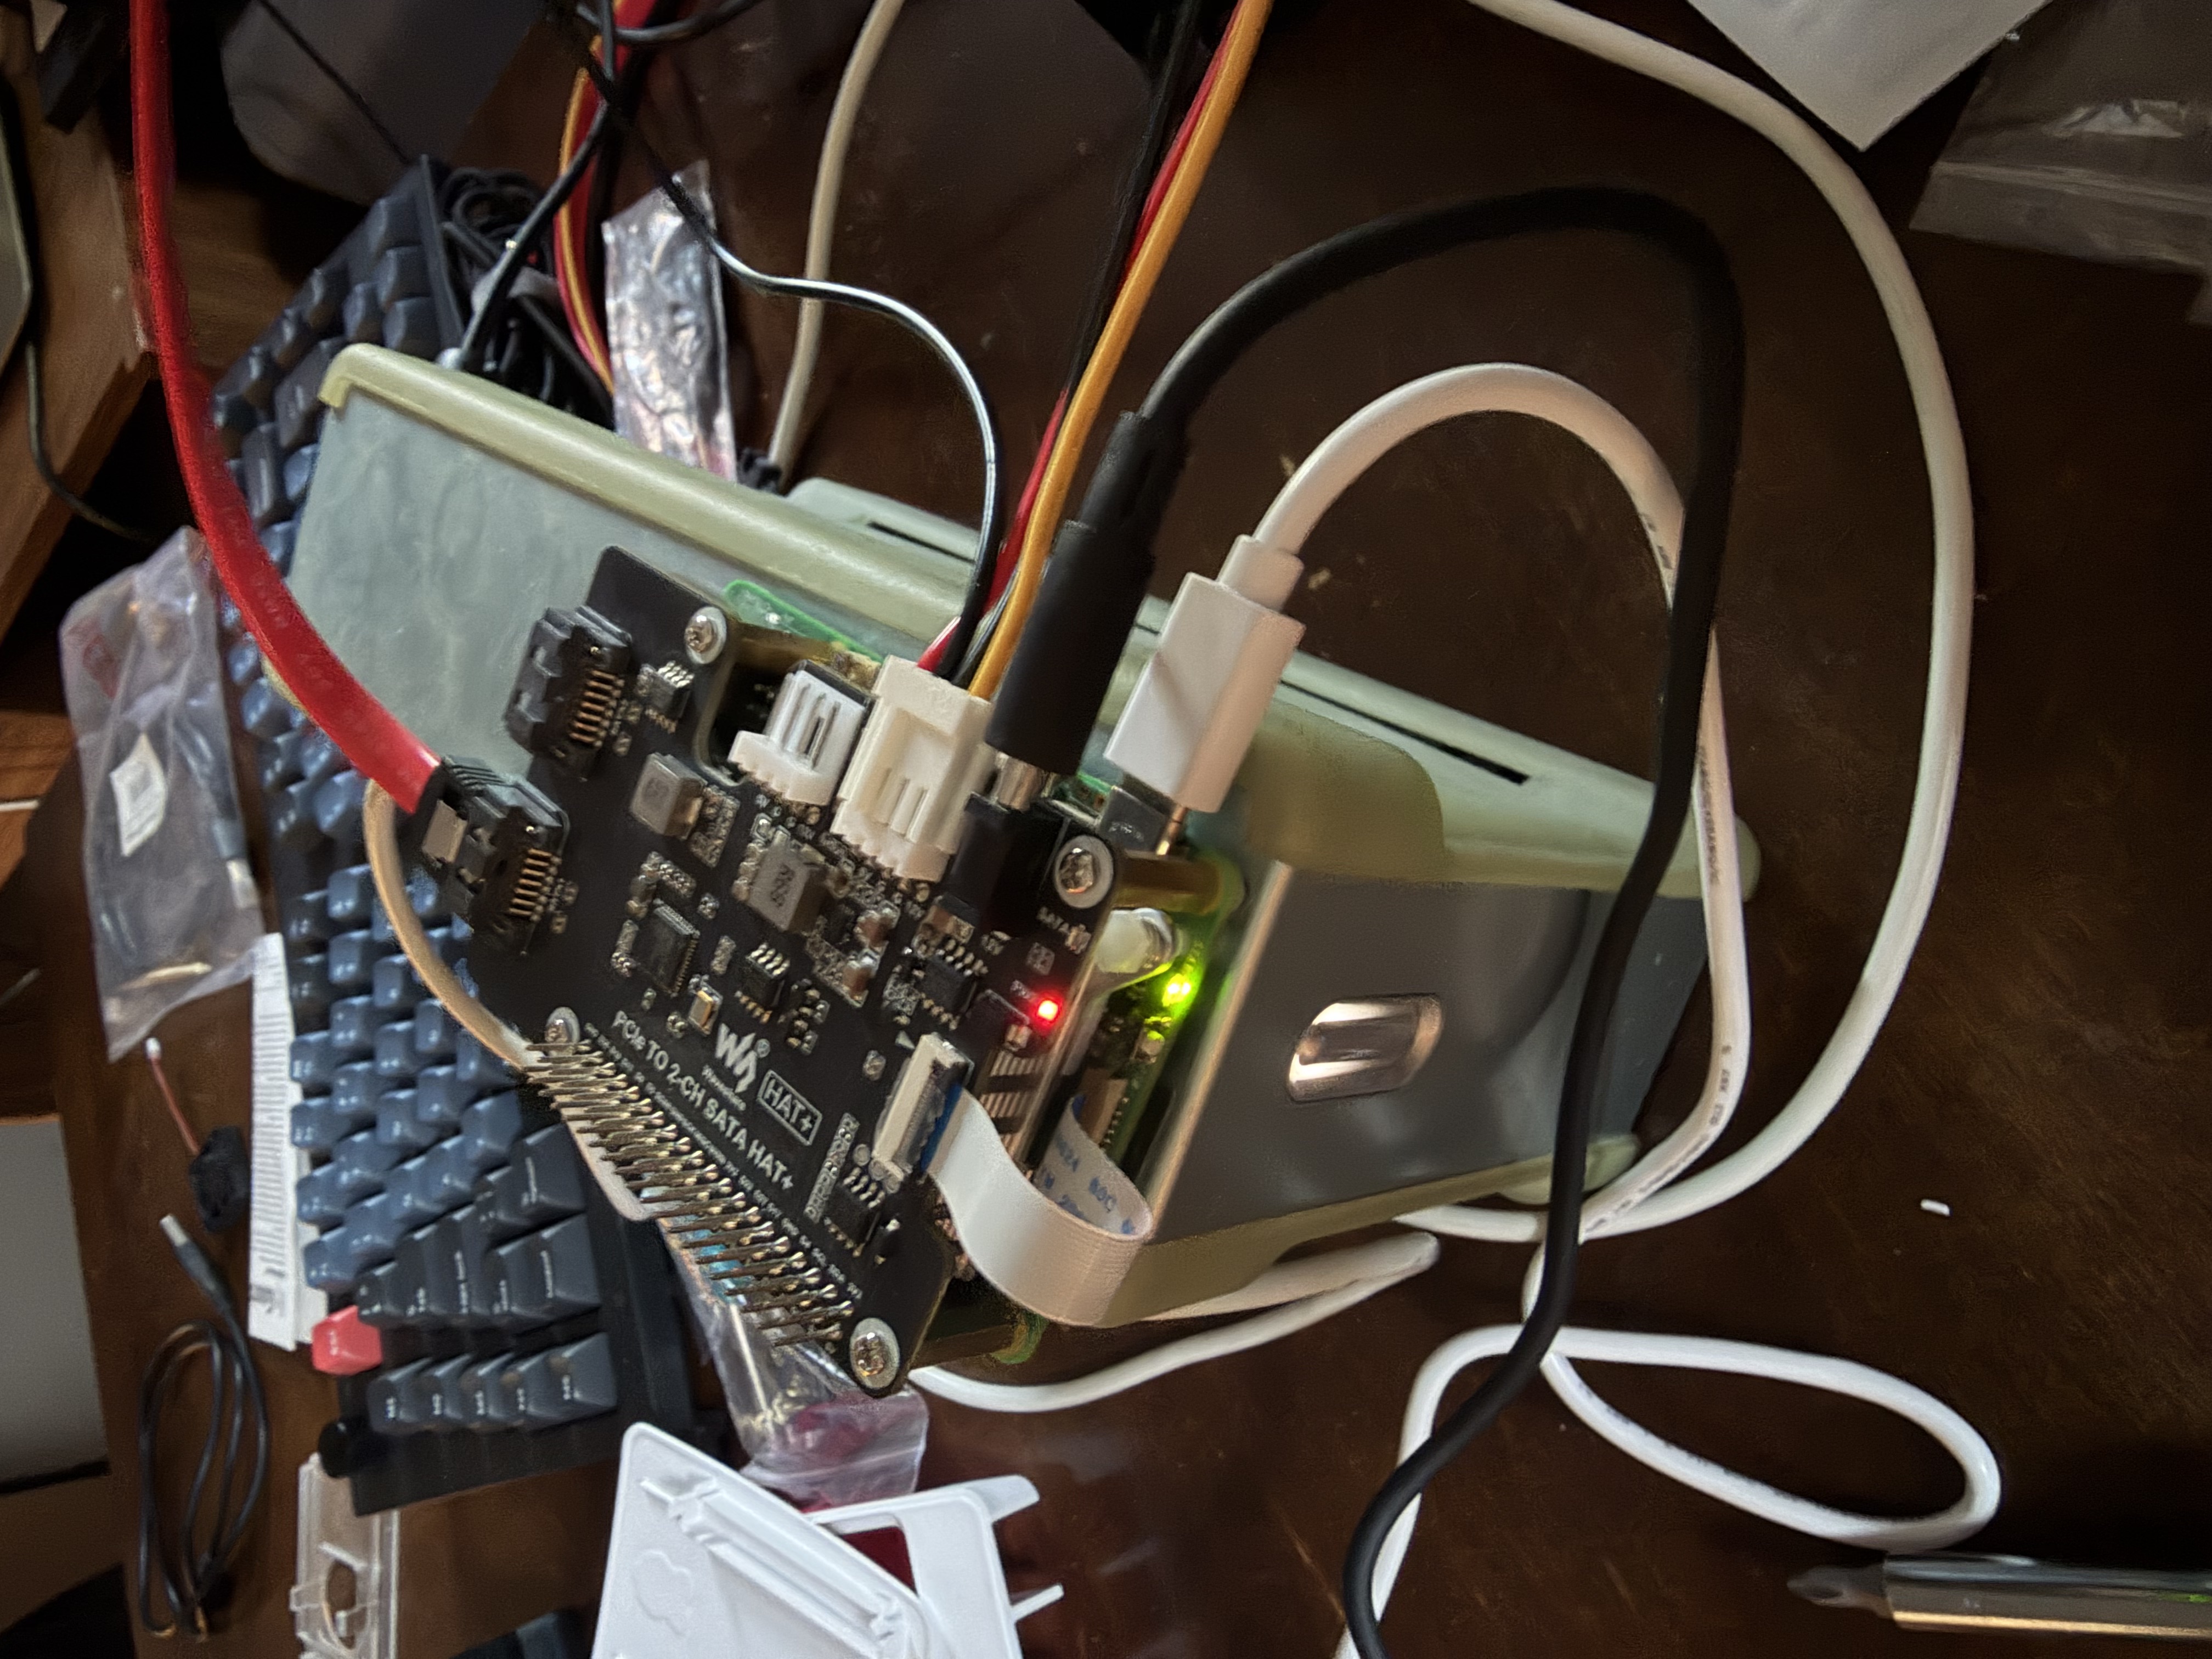
Using the new connector the Waveshare power light turned on right away. I was now able to setup Samba on the
Going Forward
While this DIY experiment taught me a bit about NAS and networking, it also took longer than an out-of-the-box solution. I’m alright with that, but I think I’ll draw the line at creating a case for the hard drive. Not everything needs to be a side project / learning opportunity.